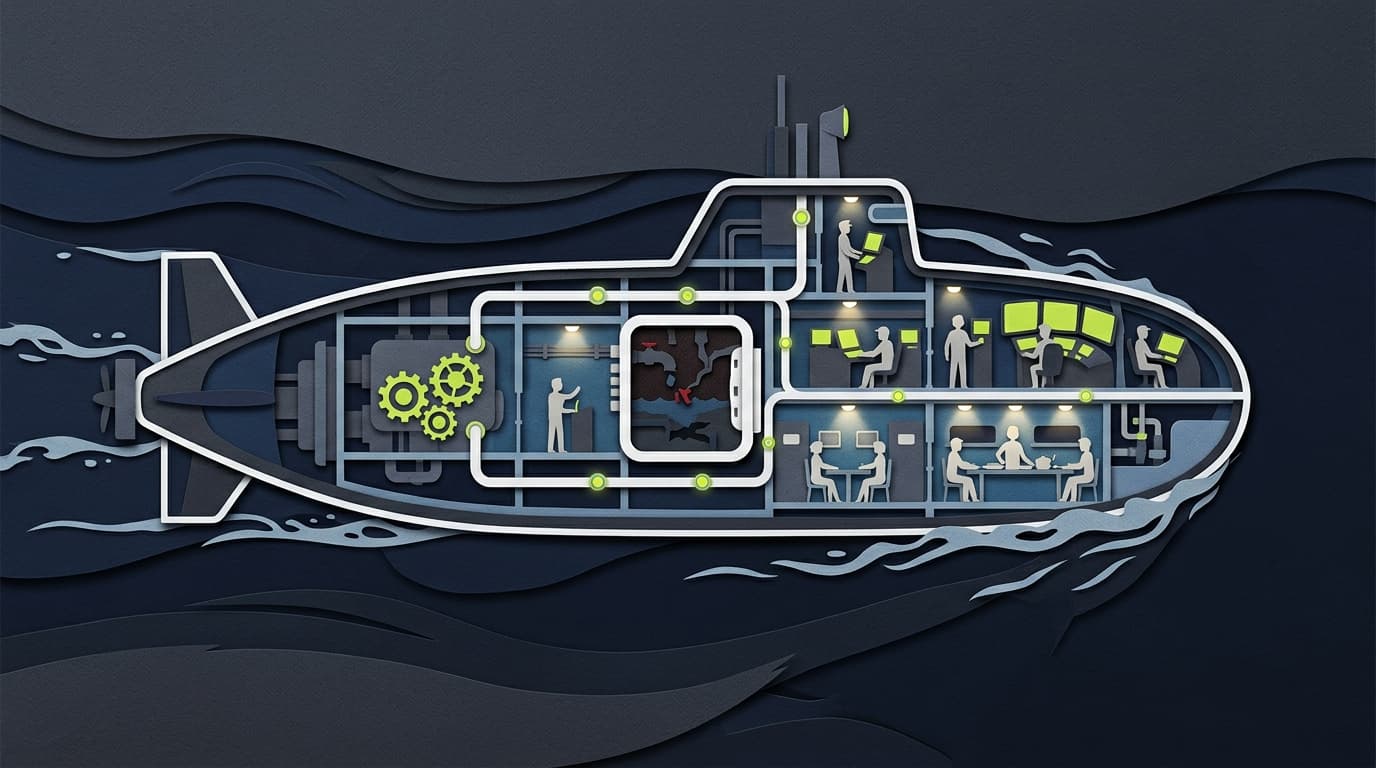
It's 3 PM on Friday. Your new payment processing feature just went live to 100% of users. Thirty minutes later, transactions start failing. Error rates spike to 15%. Support is overwhelmed. Every minute costs thousands in lost revenue.
Traditional response: Emergency meeting, identify the problem, revert the deployment, wait for CI/CD pipeline, redeploy. Time: 2-4 hours.
Kill switch response: Click a button, disable the feature. Time: 30 seconds.
What is a Kill Switch?
A kill switch is a feature flag specifically designed for emergency shutdowns. It's your "break glass in case of emergency" tool for production incidents.
Unlike regular feature flags that control gradual rollouts or A/B tests, kill switches are:
- Fast: Sub-second response time
- Simple: One-click disable
- Accessible: Non-engineers can use them
- Audited: Every use is logged
- Reversible: Easy to re-enable after fixes
When You Need Kill Switches
Payment Processing
If payment systems fail, you're losing money every second. A kill switch lets you instantly fall back to the previous payment flow.
Search/Recommendations
A broken recommendation algorithm can destroy user experience. Disable it instantly and fall back to a simple sort.
Third-Party Integrations
When a third-party API goes down and starts timing out, disable the integration instead of letting it drag down your entire application.
Experimental Features
Testing a risky optimization? Keep a kill switch handy in case performance degrades.
Compliance-Sensitive Features
If you discover a feature has compliance issues, kill it immediately while you investigate.
Implementing Kill Switches
The pattern is simple but powerful:
// Wrap risky operations with kill switches
async function processPayment(order: Order) {
  const useNewPaymentFlow = await flagpool.isEnabled('new-payment-processor', {
    userId: order.userId,
  })

  if (useNewPaymentFlow) {
    try {
      return await newPaymentProcessor.process(order)
    } catch (error) {
      // Log error but fall through to legacy system
      logger.error('New payment processor failed', error)
    }
  }

  // Safe fallback
  return await legacyPaymentProcessor.process(order)
}
The Incident Response Playbook
When things go wrong:
Step 1: Detect (Automated)
Your monitoring system detects anomalies and sends alerts.
Step 2: Assess (30 seconds)
Look at error dashboards. Is it related to a recent feature release?
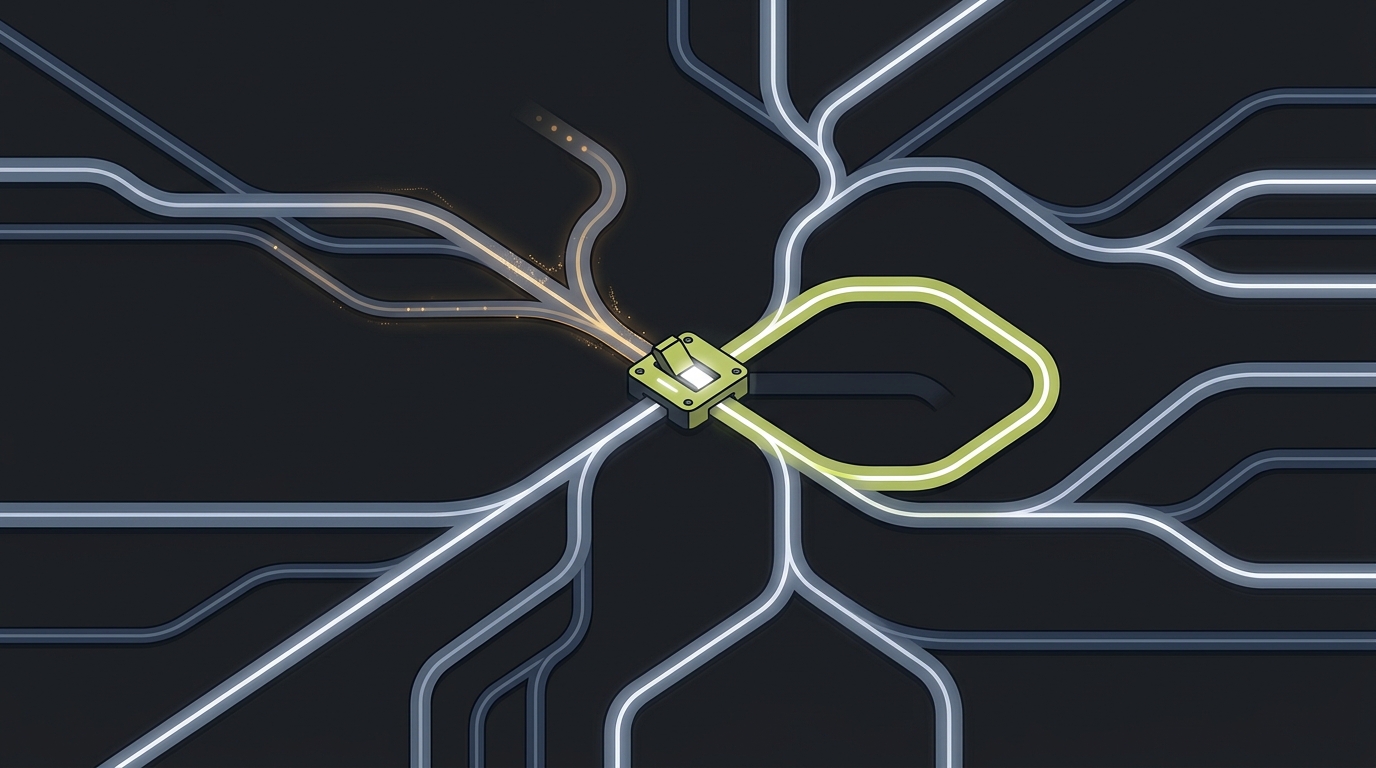
Step 3: Kill Switch (10 seconds)
If yes, hit the kill switch for that feature.
Step 4: Verify (60 seconds)
Check that error rates return to normal.
Step 5: Investigate (Hours)
Now you have time to properly diagnose and fix the issue.
Step 6: Re-enable (When Ready)
Once fixed, gradually re-enable with monitoring.
Real-World Save
A streaming platform deployed a new video encoding algorithm on Black Friday. At 50% rollout, they noticed buffering rates tripling for the test group.
Without kill switch: Hours to diagnose, revert, and redeploy. Millions of affected users. Significant revenue impact.
With kill switch: Feature disabled in 30 seconds. 99.9% of users unaffected. Investigation happened on Monday, fix deployed Tuesday, feature re-enabled Wednesday.
The kill switch saved their Black Friday.
Best Practices
1. Identify High-Risk Features
Not every feature needs a kill switch. Focus on:
- Payment and transaction flows
- Performance-critical paths
- External integrations
- Compliance-sensitive areas
- Experimental optimizations
2. Design for Graceful Degradation
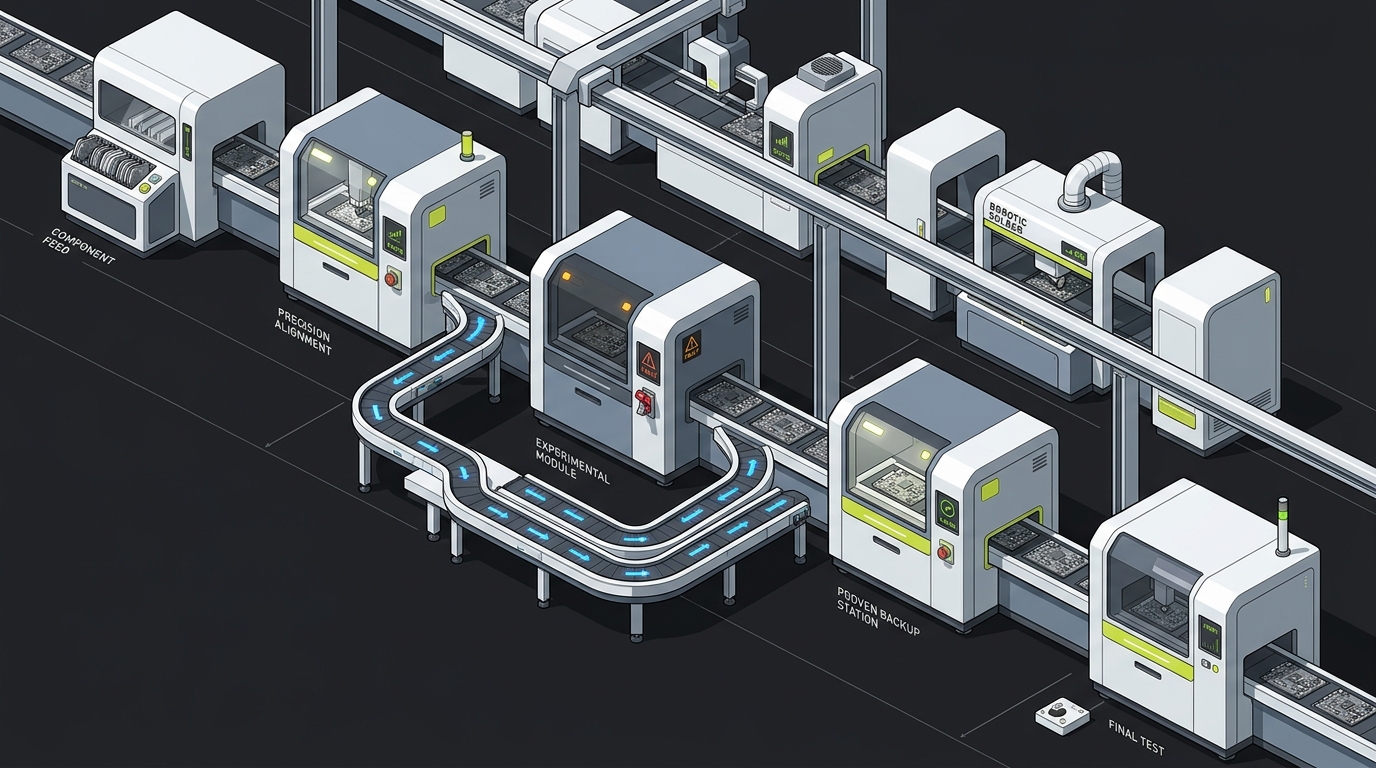
When you kill a feature, the application should handle it gracefully:
// Good: Graceful fallback
if (flagpool.isEnabled('ai-recommendations')) {
  return getAIRecommendations(userId)
}
return getPopularItems() // Simple fallback

// Bad: Feature completely breaks
if (flagpool.isEnabled('search-v2')) {
  return newSearch(query)
}
// No search at all if flag is off!
3. Test Your Kill Switches
Regularly test that disabling flags works as expected. Include this in your chaos engineering practice.
4. Monitor Flag State Changes
Alert when flags are toggled, especially during off-hours. This might indicate an incident response.
5. Document Fallback Behavior
Team members should know what happens when each kill switch is activated.
The Psychology of Kill Switches
Kill switches create psychological safety. Engineers are more willing to take calculated risks when they know they can instantly revert if things go wrong.
This leads to:
- More innovation
- Faster iteration
- Earlier problem detection
- Better incident response
- Less fear of deployments
Building a Kill Switch Culture
Make kill switches part of your incident response culture:
- Include kill switch creation in feature planning
- Make flag toggle permissions clear
- Run fire drills where you practice using kill switches
- Celebrate fast responses to incidents
- Post-mortem how kill switches helped (or could have helped)
The Bottom Line
Hope is not a strategy. When production breaks, you need tools that work instantly. Kill switches powered by feature flags are that tool.
They won't prevent all incidents, but they'll massively reduce the blast radius when incidents do occur. And in production, every second counts.
Build your kill switches before you need them. Your future self (and your users) will thank you.